Posted on Leave a comment

Negative film processing, or “The Magic Of Film”

Ah, film. I love the medium. It’s a tangible form of photography; in essence, you’re catching photons in silver suspended inside gelatin. To be more precise, light-sensitive silver halide crystals are suspended in gelatin on a celluloid or acetate base. But how do you get an image out of this? How does this silver transform into a visible negative? How does film processing work?

The exposure process

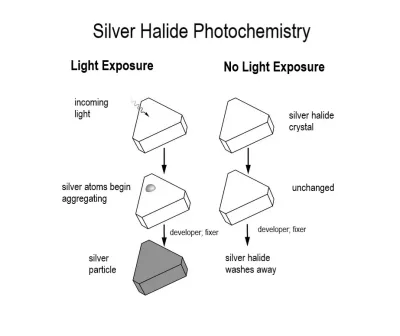
When you load film into your camera, it hasn’t been exposed to light. At this point, all the silver halides in the film remain as just that – silver halides. When you expose the film to light, a small speck of the halide becomes metallic silver, creating what’s known as the latent image. You only need four atoms of metallic silver on a halide to make it “active.”

Development: the heart of film processing

The heart of any film processing journey is development. (Do note that if you’re doing ECN-2 development, you should really remove the remjet before development 😉) During development, the latent image captured during exposure transforms into a visible negative or positive. The film is immersed in a developer solution, typically containing chemicals like hydroquinone or metol, which catalyze the reduction of the “active” silver halides into metallic silver. This chemical reaction forms the basis of the photographic image.

Fixing: ensuring image stability

Fixing follows development, offering stability to the final image by eliminating unexposed silver halides from the emulsion. The fixer solution, containing compounds like ammonium thiosulfate or sodium thiosulfate, dissolves these lingering silver halides, transforming them into soluble complexes that can be easily rinsed away from the film. Without this step, unexposed silver halides would remain on the film surface, gradually darkening upon exposure to light and changing the image. Fixing guarantees the enduring quality of the developed image, halting any further chemical reactions. Following fixing, the film undergoes a thorough washing process to ensure complete removal of any residual fixer solution, solidifying the longevity and steadfastness of the final photographic print or negative.

Special considerations for color film

In black-and-white development, the film moves directly from the developer to the fixer. However, color film processing requires an additional step between development and fixing called bleaching. Color film chemistry kits are usually more complicated than black-and-white kits. Color film’s image is formed by three different dyes: cyan, magenta, and yellow. A bleaching solution, containing compounds like potassium ferricyanide or ammonium persulfate, oxidizes the metallic silver, breaking it down into soluble compounds that can be easily washed away.

If you don’t remove the metallic silver during regular development, known as a bleach bypass, your negative will contain a black-and-white image overlapping the color image on each dye layer. This affects exposure latitude and saturation, but enhances contrast and apparent grain. Some motion picture films did this as an artistic choice, the most well-known being Saving Private Ryan.

The info on this page is simplified, but it should give you an idea of how film processing works and what happens inside nbtg’s lab when you ship your precious rolls of film to me for development!

Posted on Leave a comment

ECN-2, Vision3… What?

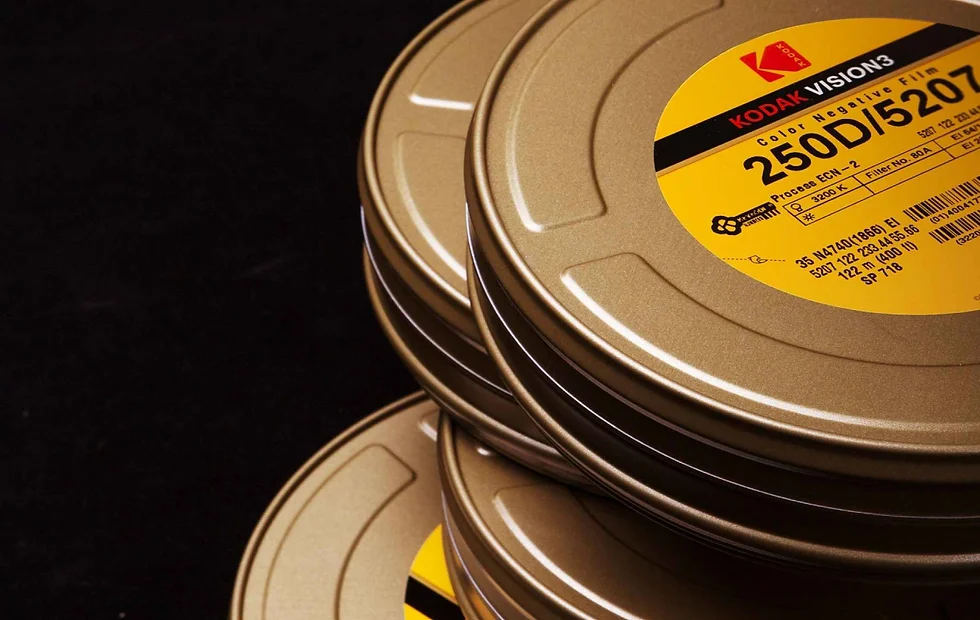
Vision3 film cans

So you’ve stumbled upon this site, wondering what the heck ECN-2 might be. Fear not, I’ve got you covered!

What is ECN-2?

ECN-2, or Eastman Color Negative process #2, is a chemical process used to develop film. Unlike the standard C-41 color negative process, ECN-2 is formulated for motion picture film in high volumes. It targets a lower, more balanced gamma and lower contrast to facilitate easier post-processing. Due to this, colors come out more muted and flat compared to “regular” color film. The chemistry packs for developing ECN-2 film usually contain more steps as well.
Most importantly, all the info you need for processing ECN-2 is publicized by Eastman Kodak, whereas C-41 is shrouded in mystery 😉

Films

ECN-2 negative films (Vision3 5203/5207 for daylight 35mm, 5213/5219 for tungsten) are designed to be transferred to a positive film (Vision3 2383) via an intermediate film (Vision3 2254/2242), using the ECP-2 process. However, they work just as well as a negative stock for scanning.
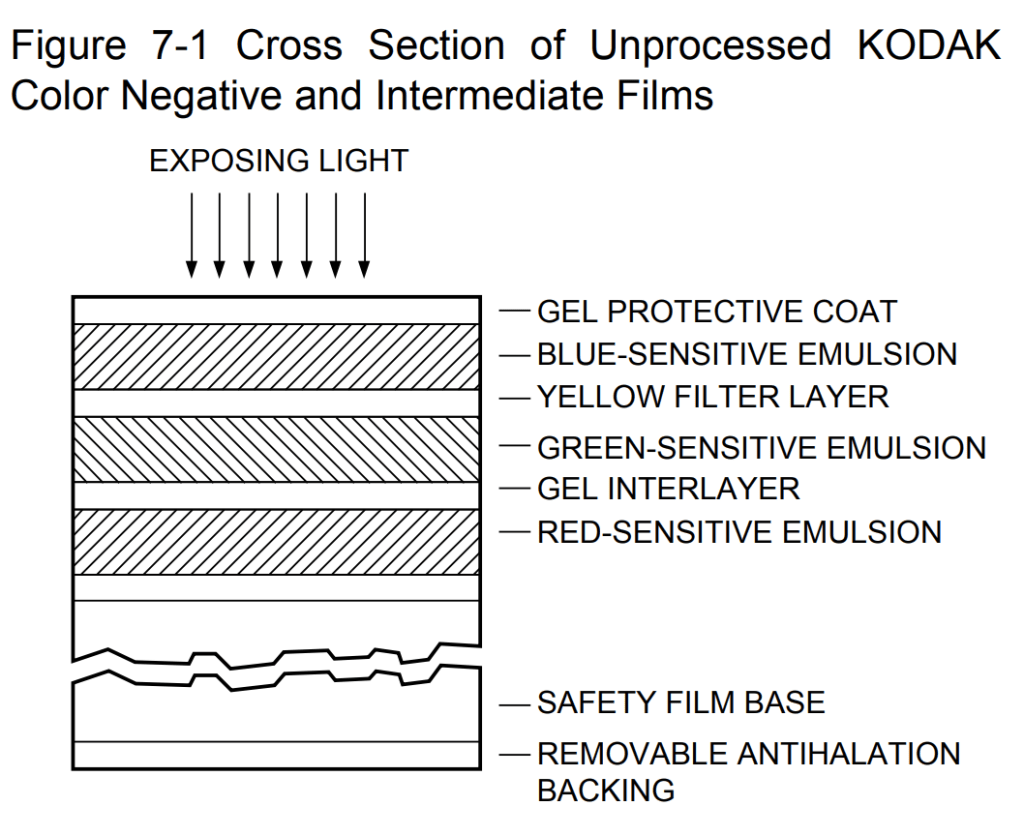
The structure of the films themselves is identical to how C-41 films are built, with the exception of the antihalation backing, called remjet. The dyes in the respective layers are coupled to the CD-3 color developer, whereas C-41 dyes are coupled to CD-4. This explains the color shift.
Side note: you can actually use ECP-2 films in-camera as well, but they’re really slow, around ISO 1.6.

The structure of ECN-2 negative film.
ECN-2 negative film structure. The color-sensitive layers are visible to the eye as yellow, magenta and cyan from top to bottom.

Current ECN-2 Films

Kodak’s Vision3 line of stocks are the only ECN-2 films currently in production. Fujifilm used to make Eterna until 2013 when they stopped production, and Agfa quit the business long ago.

Developing ECN-2 Film in C-41

If you develop Vision3 stock in C-41, you’ll get a slight speed increase due to the different chemistry (which is why Cinestill markets its films as 800T: it’s really Vision3 500T without remjet). However, this comes with caveats. As mentioned before, he dye couplers in Vision3 films are compatible with the CD-3 developing agent used in the ECN-2 process. When developed in C-41, which uses the CD-4 developer agent, crossovers appear, mainly visible in the shadows as a greenish tint that is difficult to compensate for in scans or under an enlarger.

Using “real” ECN-2, such as what I provide, offers your film a remarkable exposure latitude of 10-12 stops. C-41 development seems to diminish this a bit, although I cannot advocate for the exact difference.

Obtaining film

The easiest way to get your hands on some of this awesome motion film is by buying respooled Vision3 canisters. One reseller, which happens to be my favourite, is Analog Amsterdam. But, you can find these everywhere; just look for film labeled “500T”, “200T”, “250D” or “50D”, or even Cinestill film.

Important Note on Remjet

Lastly, before we stop: don’t send “regular” Vision3 film to a normal C-41 lab! Vision3 stocks are backed with a carbon layer called remjet, which can ruin their chemistry if not removed beforehand. It can also affect other customers’ rolls if the lab doesn’t notice it in time. This removal is not part of the regular film development process and needs special handling.

If you come across some bulk-rolled Vision3 (or maybe even old Eterna, lucky you!) film and wonder where to send it off to, the store is (almost) always open, with your films usually being processed in around one week.